Steps to deploy a custom build docker powered by Nginx Cache Engine
Docker is an open source project that has changed software development by providing an easy way to containerize applications.
This has resulted in a lot of excitement around using containers in all stages of the software delivery lifecycle, from development to production.

With increase of cloud applications in complexity and delivery cycles gets faster, teams reorganizes into a distributed micro-service architecture and software delivery cycles get faster.
Throughout this, DevOps engineers keep looking for ways to streamline and automate the continuous deployment of code using containers like Docker.
Docker simplifies and automate the deployment process of their application. it is an effective way of packaging software in a way that is predictable and consistent. You will experience the similar environment while using both cloud and local environment.
You can expect the software to behave similarly whether you’re on a laptop or in the cloud.
Docker has become so mainstream in the short time since it debuted in 2013 that the big giants like Amazon, Cisco, Google, Microsoft Red Hat, VMWare, and others have created the Open Container Initiative to develop a common standard around it.
Steps to deploy custom docker Image
- Create a directory for the HTML (Example)
- Create a file called Dockerfile
- Build the Docker Image for the HTML Server
- Run the Docker Container
- Verify the container with cURL
Let’s do it!!
1. Create a Directory for the Website
Make sure that you have your HTML files already in the current directory
or You can download the sample html from GitHub repo,
Open your terminal
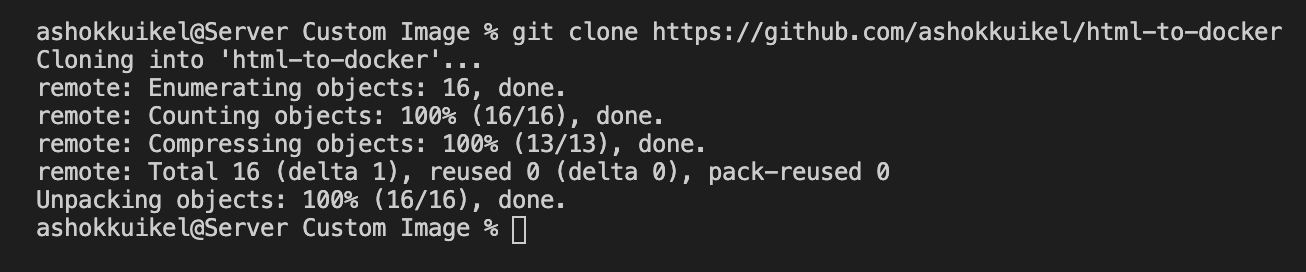
#git clone https://github.com/ashokkuikel/html-to-docker
# cd html-to-docker
And it should show you output something like this:
HTML Sample Code Repository
https://github.com/ashokkuikel/html-to-docker
2. Create a file called Dockerfile
Place the following contents into the Dockerfile
FROM nginx:alpine
COPY . /usr/share/nginx/html
These lines of code represent the image and we’re going to use along with copying the contents of the current directory into the container.
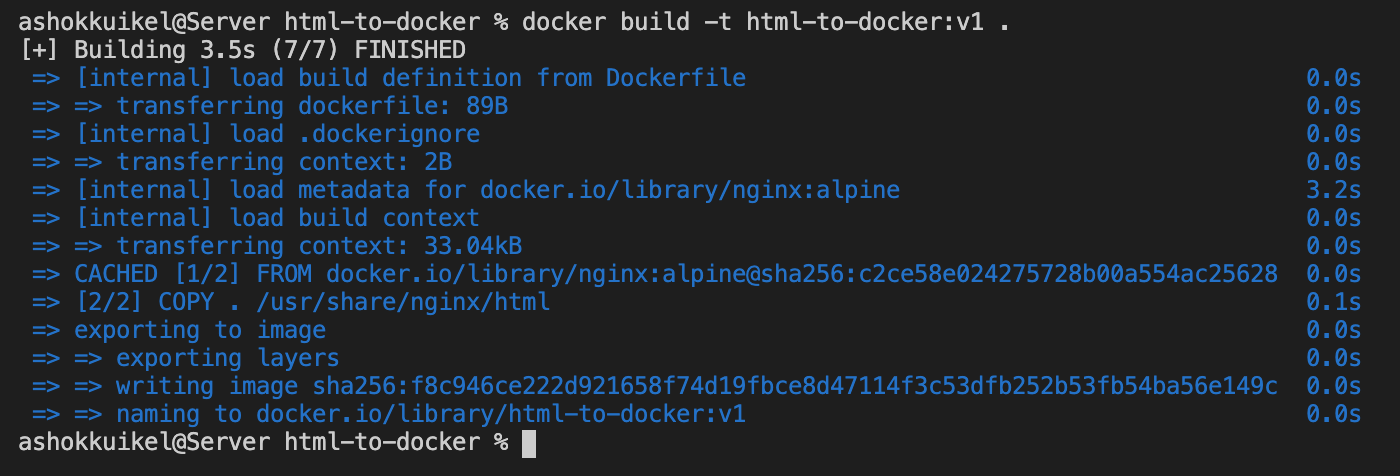
3. Build the Docker Image for the HTML Server
Run the following command:
docker build -t html-to-docker:v1 .
And it should show you output something like this:
You can confirm that this has worked by running the command:
docker images
And it should show you output something like this:

4. Run the Docker Container
Run the following command to run the HTML container server:
docker run -d -p 80:80 html-to-docker:v1
5. Verify the container with cURL
Run the following command to ensure the server is running:
curl localhost
or
curl localhost:80
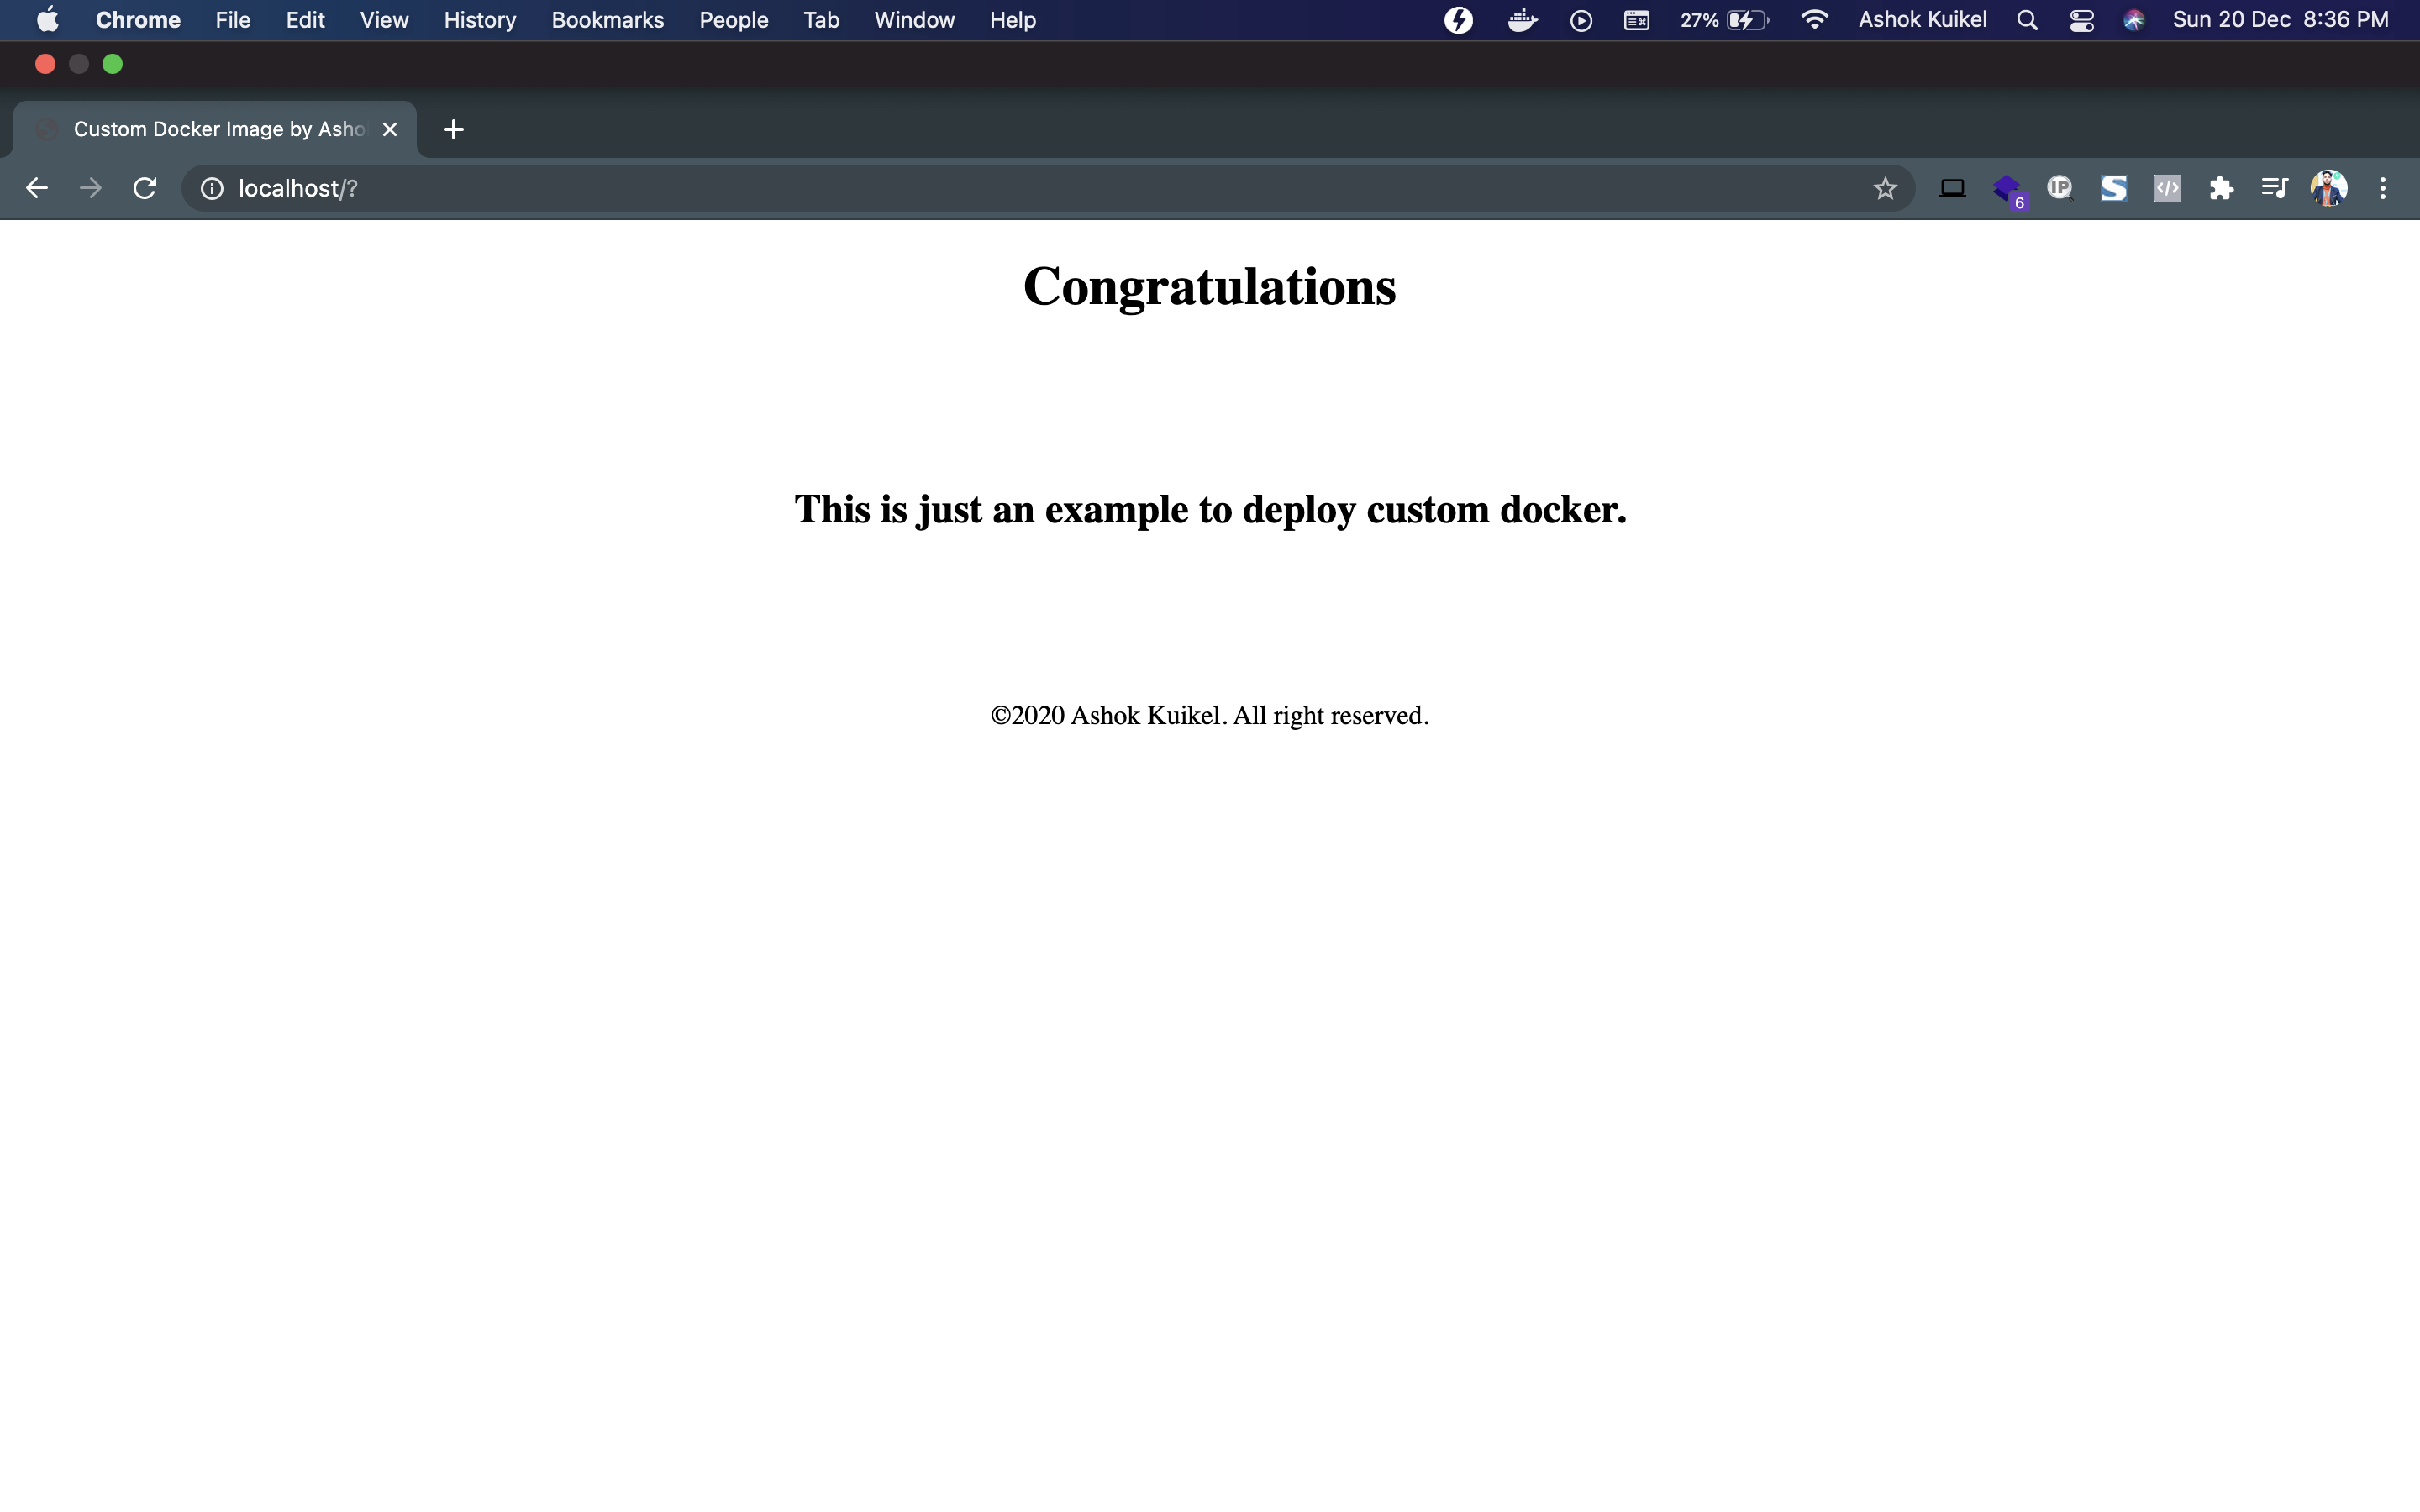
You can also view it in the browser now by going to localhost and you should see your HTML file, as shown below:

Leave a Reply
You must be logged in to post a comment.