How to Install SSL Certificate in WordPress?
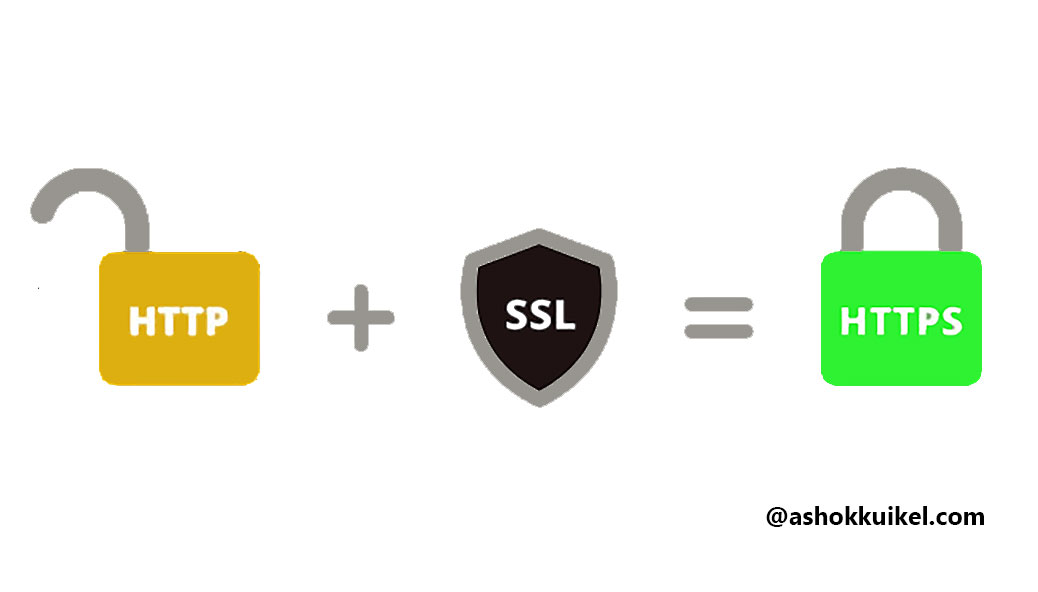
HyperText Transfer Protocol Secure (HTTPS) is the secure version of HTTP, in which data is transferred securely between a browser and a website.
The ‘S’ at the end of HTTPS means all exchanges of information between the browser and the site are encrypted.
What is SSL?
SSL(Secure sockets layer) is the global standard security technology to establish a secure encrypted link between a web server (web hosting or server) and a browser (your browser).
Why should I install SSL on my website?
This protocol(SSL) ensures that all data passed between the web server or hosting, and browsers remain private and integral. SSL is essential, particularly for forms to encrypt the user’s information encrypt the information the site visitor is entering in the way as it passes to the server.
To establish a secure communication channel, you have to install a valid SSL Certificate on your WordPress website and then redirect all the URLs on your website to use HTTPS instead of HTTP. When you install the SSL certificate correctly, and all the URLs to https, then visitors will see ? the lock icon in their browser, indicating that the site is secure.
Why is SSL Good for SEO?
Google says, “The website owners can no longer ignore HTTPS Ranking. ”
After releasing Chrome 68 in July 2018, Chrome will serve HTTP websites as “Not Secure.”
It means, technically there is nothing wrong with your site, but visitors may be confused by the label.
Google encourages more secure web and is staging a multi-phase rollout of changes to its Chrome browser to help website owners to switch to HTTPS.
According to Google data usage, more than 70% of users are visiting https enabled websites, and so browsing via HTTPS is becoming standard. Armed with that data, Google is taking steps to “encourage” the global adoption of SSL/HTTPS.
All Website owners must install SSL on their websites as soon as possible, particularly while implementing web forms on their websites. If you experience any difficulties while configuring SSL, contact your web host if needed, fix insecure content, and make changes to Google Analytics and Search Console. It’s a process, and you will want to do this when you have a clear head, a transparent plate, and not a lot of traffic going to the site.
Steps to install SSL on WordPress website
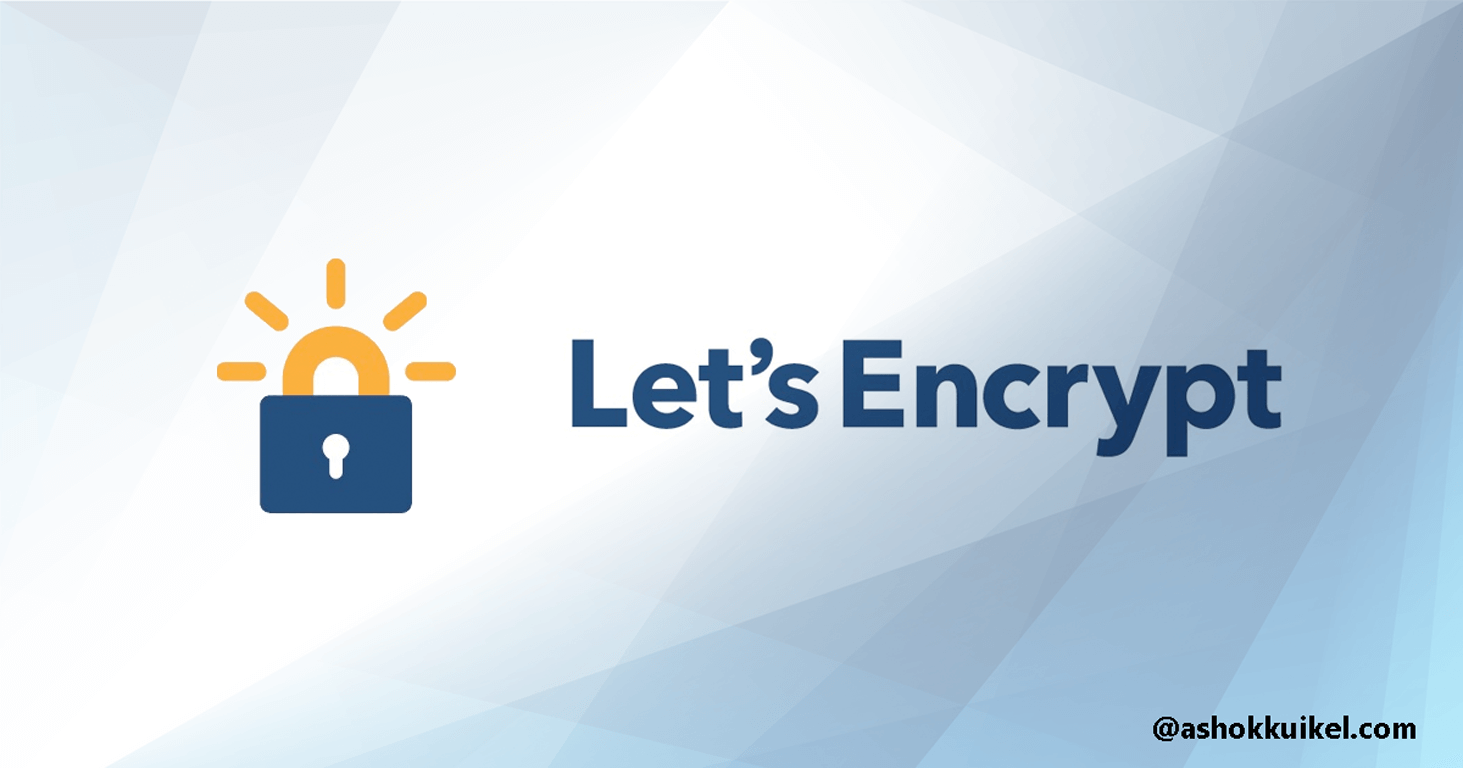
Step 1 Purchase and install an SSL certificate.
Most of the Web hosting Providers offer Let’s Encrypt SSL certificates or other options via your web hosting control panel.
1. Log in to your web hosting
2. Search for SSL.
You may find several options to install SSL on WordPress websites based on different hosting like WP Engine, Get Flywheel, Blue Host, etc.
Make sure you have installed an SSL certificate on both www and non-www versions of your website to keep your Google page ranking after switching to SSL even if you never used the non-www or www before.
For example:
Should all redirect to
https://ashokkuikel.com
or
https://ashokkuikel.com.
Depending on what your preferred domain is.
To verify the status of your SSL installation here: https://www.sslchecker.com/sslchecker
I must let you know, never use your website content under two different domains; this will cause a duplicate content penalty from Google.
If you have old or parked domains that you need to redirect to your primary area, you might install SSL on those as well as Google may index the old fields with https, and the 301 redirect does not take place until AFTER verifying https.
Step 2 Change your WordPress General Settings to use https.
Even though If you have a secure certificate (SSL) on your website, you might be facing problems several times while automatically redirecting visitors to the secured (HTTPS) version of your website to make sure their information is protected.
The SSL certificate installation can take up to a few hours or minutes. You can simply check the status of the installation in your web hosting or visit the site using https.
If the website loads fine with ? the lock icon in their browser using https, then your certificate is installed. If not, then the certificate is not valid or SSL not installed yet. If you experience any issues, then contact your hosting provider.
You can check your websites regardless of the host as,
1. Login to WordPress Dashboard.
2. Go to Settings > General.
3. Change the URLs in the General Settings to use https as

4. Click Save Changes.
5. You have to login since the system with logged out automatically.
Step 3 Replace URLs using the Plugin.
Before executing this process, I highly recommend you take a backup of your website just in case you make a mistake.
Next, your goal is to rewrite your site’s URLs to all use https for your images, media files, and internal hyperlinks. To do ti efficiently and quickly,
1. Go to Plugins > Add New.
2. Search Better Search and Replace Plugin, Install and activate it:
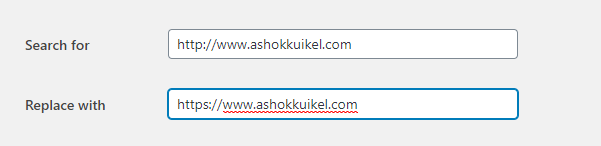
3. After activating the plugin, go to Tools > Better Search Replace.
4. Search your site URL with the HTTP and replace the HTTPS URL. Select tables and run the search and replace process. Make sure to uncheck Dry Run.
Step 4 Check for the green lock icon in the browser.
If everything goes well with the above two steps, the site should show a ? lock icon when you visit in browsers,
![]()
Step 5 Resolve Mixed HTTP and HTTPS content
If pages come up with the lock open then,
1. Right-click on any section of the page and click nspect from the contextual menu. (This works best in Firefox and Chrome).

2. Select the Console tab in the Inspector and scroll through the Console to find any messages about “mixed content.”
Step 6 Clear Website cache
To avoid mixed content issues that don’t exist, be sure to flush any cache that the web host might provide ultimately.
Also, don’t forget to flush the browser cache, then return to Step 5 to check for mixed content.
Update Google Search Console
Step 1 Change site to use HTTPs in Google Analytics settings
a. Login to your Google Analytics account.
b. Click gear icon in the lower-left column.
c. Select property settings and change the Website default URL to use https://, as shown below.
Click Save to save this change.
d. Return to the console admin area, click the view setting & make the changes and save it.
it will not impact any existing analytics data rather allows GA(Google Analytics) to track https URLs from this time onwards.
Step 2 Google Search Console Configuration.
You have to add domain with HTTP both the non-www and www and with https both the non-www and the www to Search Console.
Step 3 – Submit Domain Name Change to Google
If you migrate your site to HTTPS, Google treats this as a site move with a URL change. Hence, it might temporarily affect some of your traffic numbers.
if you failed to configure the domain properly, then it can significantly affect your SEO.
Make sure to test all the domains are redirected correctly to your primary domain.
Rules to point parked domain to primary domain
Make sure that all the parked domains are pointed to the primary domain by editing your .htaccess file on the server pasting the following code.
RewriteEngine on
RewriteCond %{HTTP_HOST} ^olddomain.com$ [OR]
RewriteCond %{HTTP_HOST} ^www.olddomain.com$
RewriteRule ^(.*)$ https://newdomain.com/$1 [R=301]


Leave a Reply
You must be logged in to post a comment.